In this page, I’ll discuss the options for creating your Microsoft Entra ID tenant and how you create it.
For lab exercises, you can use an existing Microsoft Entra ID tenant if it’s not being used for production environment. However, it’s recommended to create a separate tenant specifically for lab and learning purposes.
Just so you know, creating a Microsoft Entra ID tenant in Azure is free. However, deploying services within the tenant will incur charges.
Common types of Azure Subscriptions
To create a Microsoft Entra ID tenant, a subscription must be created within Microsoft Azure. Microsoft Azure offers various types of subscriptions, including the the following common subscriptions:
- Free Trial: Microsoft Azure provides a free trial subscription with $200 credit using your email account. This includes limited free services for 12 months, but the credit amount and availability vary by region. The credit is a one-time, time-limited offer. The free trial requires a credit card, but there will be no charges unless you convert the free trial subscription to a pay-as-you-go subscription.
- MSDN Subscription: If you have access to an MSDN subscription, you can leverage its credit to create an Azure subscription and deploy the resources.
- Pay-As-You-Go: This subscription option requires a credit card and you will be billed for any non-free services used on a monthly basis.
Create a Pay-As-You-Go subscription
To create an Azure subscription with a Pay-As-You-Go billing model using an email account, follow the below steps. These steps are similar to creating a Free trial Azure subscription, and following them will also create a new Microsoft Entra ID tenant.
Requirements
- A Microsoft account (such as outlook.com), an organization email account, or Gmail account can be used to register for an Azure subscription. For this demo, I’m going to use an outlook.com email account that I’ve created.
- A credit card or debit card is also required for verification purposes. It will charge the credit card based on the consumption of resources.
- Optionally, you also need a phone number.
Steps
- Navigate to https://azure.microsoft.com in your browser.
- Click Try Azure for free to create a free trial account or click on Get started to create a pay-as-you-go subscription. For this demo, I’ll click on Get Started to create a pay-as-you-go subscription.

- Click on Get started again.
- At this point, you can either create a new Microsoft account (outlook.com) by clicking Create one! or use an existing one. For this demo, I’ve already created a demo Microsoft account on the outlook.com domain, which I’m going to use. I’ll type in my account – demolab26@outlook.com and click Next.


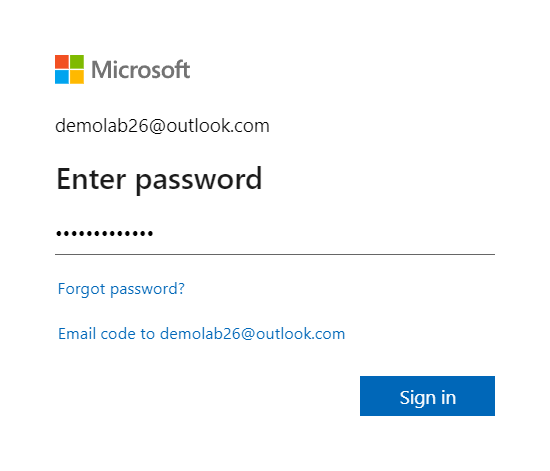
- Type in the password and click Sign in.
- For the prompt Stay signed in?, I’ll click on Yes.

- Specify your Country/Region, First name, Middle name, Last name, Email address for important notification, Phone #.
You can use a different phone number to verify your identity. To verify your phone number, click on Text me or Call me to receive a verification code.
After providing the above information, provide your Company name, PAN ID, Address, City, State, and Postal code.
Agree to the terms and click Next.
Fill in your payment information. In here, you need to type in your credit card or a debit card details and click Next.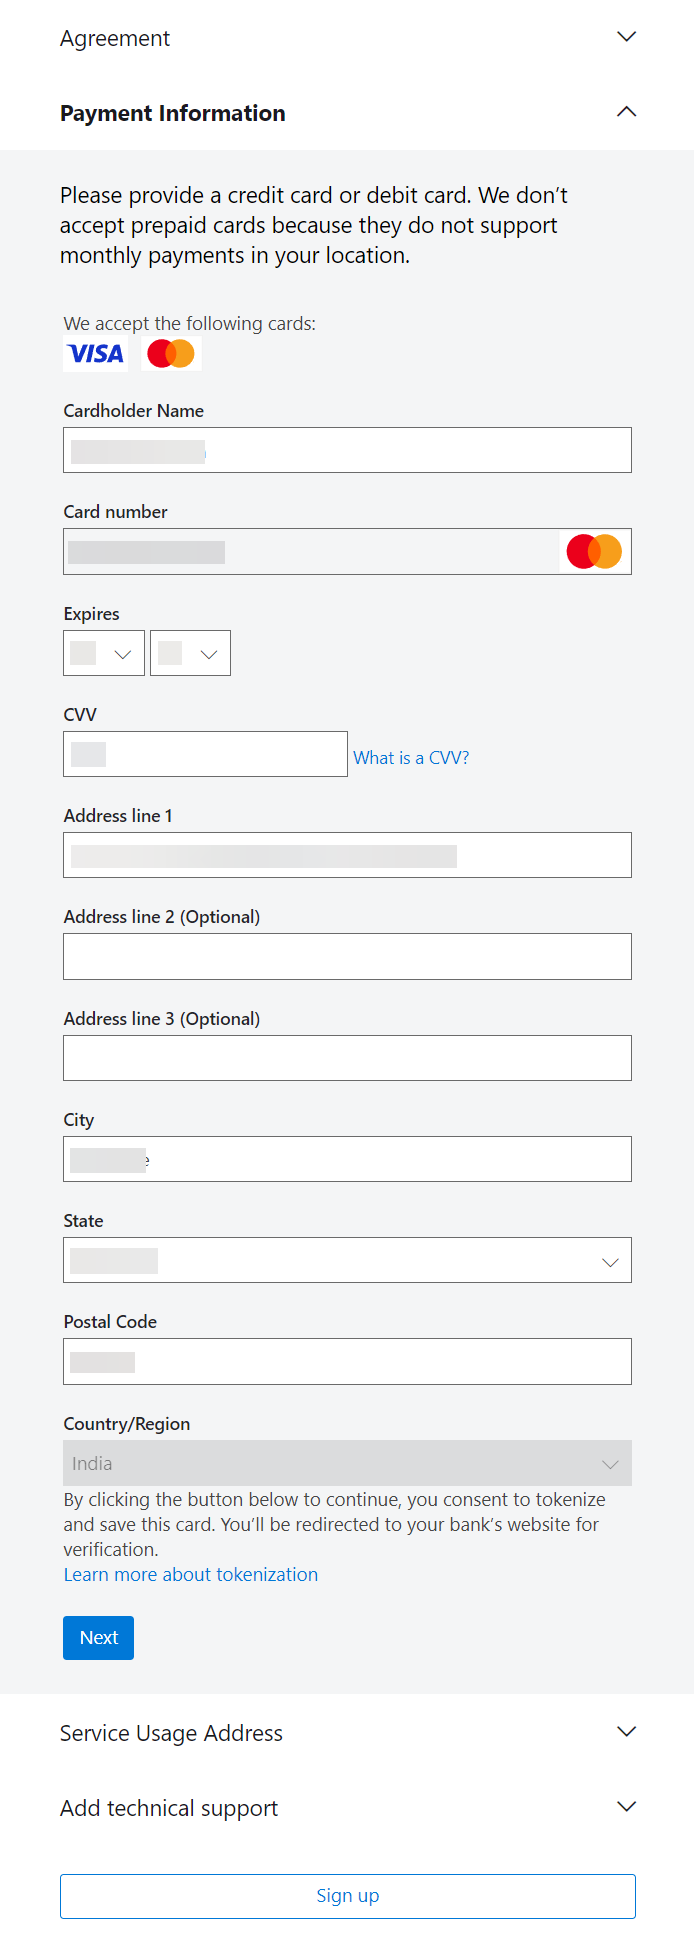
If your bank requires additional authentication, complete the authentication process.
Type in your Service Usage Address and click Next.
Choose your technical support preference and click Sign up and wait for the process to complete. I’ll select No technical support for this demo environment.
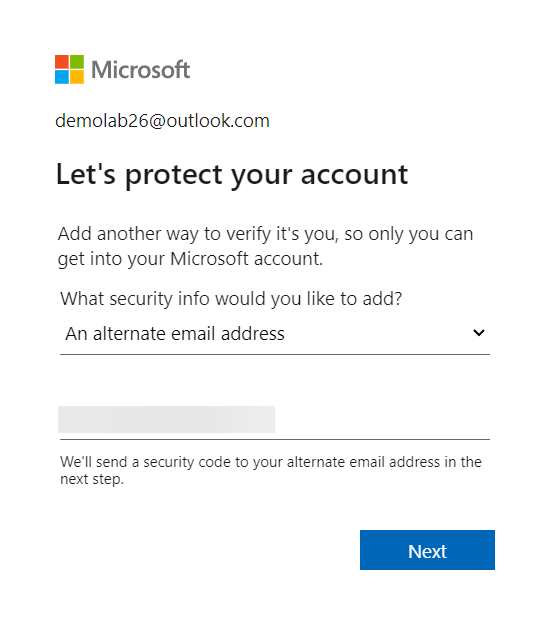
- If it prompts you to protect your account with multi-factor authentication, click on Next.

- Type in the password of your account and click on Sign in.

- Specify your alternate email address to use it as another way to verify it’s you. I’ll type my alternate email address and click on Next.
- Type in the code that it sends you to your alternate email address and click on Next.

- Click on your alternate email address to verify your identity.

- To your verify that the alternate email address you specified is your email address, type in your alternate email address again and click on Send code.

- The wizard will now send a code to your alternate email address. Type in the code and click on Verify.

- Once finished, you can click on Go to Azure portal or access the portal by going to https://portal.azure.com/.

- If you are prompted with Quickstart Center, skip it by clicking on Home.
- Search and open Subscriptions and confirm that you can see your new subscription. In the below screenshots, I can see my new subscription, it is named as Pay-As-You-Go and my logged in account is account admin.

- Click on it and you can see it is tied to a default Microsoft Entra ID directory – Default directory – demolab26outlook.onmicrosoft.com.

Congratulations! You now have a Microsoft Entra ID tenant and subscription ready for configuring your environment.